How to Make the Perfect Chicken Caesar Wrap at Home
Making a perfect chicken caesar wrap turns a favorite dish into a meal you can take anywhere. It combines fresh, crunchy, and creamy elements for a special touch. Your homemade wrap will likely taste better than most restaurant versions because you pick every ingredient.
A homemade chicken caesar wrap has garlicky Caesar dressing, juicy chicken, crisp lettuce, and salty parmesan cheese in a soft tortilla. The secret is balancing these simple parts with care and technique. You’ll find making this wrap at home is quick but packs a big flavor punch.
This meal is perfect for busy weeknights when you need something quick but impressive. Your family will love how you can customize it, and you’ll find it easy once you learn the basics. Whether for lunch at work or dinner on a hectic night, your homemade chicken caesar wrap will impress.
Key Takeaways
- Building a perfect chicken caesar wrap requires fresh romaine lettuce, seasoned chicken, and creamy Caesar dressing
- Homemade Caesar dressing tastes superior to store-bought versions and takes just minutes to prepare
- Properly cooked and seasoned chicken creates the hearty base your wrap needs
- Warming your tortilla prevents tearing and creates a better eating experience
- A homemade chicken caesar wrap can be assembled ahead for convenient meal prep
- Adding homemade croutons brings satisfying crunch to every bite
- This versatile wrap works for lunch, dinner, picnics, and grab-and-go meals
What Makes a Perfect Chicken Caesar Wrap
Making a great chicken caesar wrap recipe is all about the right mix of ingredients and technique. The ingredients in your wrap come together to create something special. A good wrap has fresh parts and careful preparation.
Each part of your wrap plays a key role. It makes your wrap enjoyable from start to finish.
A great wrap doesn’t happen by chance. Your recipe needs to know which parts are most important. The mix of flavors and textures makes every bite a delight.
Essential Ingredients for Authentic Flavor
Your wrap starts with crisp romaine lettuce. It adds freshness and bulk. Next, you need seasoned chicken breast, whether grilled, breaded, or rotisserie. The chicken should be tender and moist.
Quality caesar dressing is key. It adds a garlicky tang everyone loves. Fresh parmesan cheese adds a sharp, salty taste. Grape tomatoes add sweetness and color. Thinly sliced red onion adds crunch and bite.
Choosing the right tortilla is important. A sturdy flour tortilla keeps everything inside. The right size ensures you can fill it up.
| Ingredient | Purpose | Quality Notes |
|---|---|---|
| Romaine Lettuce | Foundation and freshness | Crisp, dark green leaves work best |
| Chicken Breast | Protein and substance | Tender and well-seasoned |
| Caesar Dressing | Flavor and moisture | Homemade dressing tastes superior |
| Parmesan Cheese | Sharp, salty taste | Freshly grated preferred |
| Tomatoes or Onions | Sweetness and crunch | Fresh vegetables add brightness |
The Role of Texture in a Great Wrap
Texture makes your wrap memorable. A good wrap has creamy, crunchy, and tender textures. The creamy dressing coats everything. Crunchy lettuce or croutons add texture.
The tender chicken adds substance. These textures together create a satisfying contrast. A soggy or falling-apart wrap is not appealing. Thoughtful layering ensures every bite is satisfying.
- Creamy texture from caesar dressing
- Crunchy texture from lettuce or croutons
- Tender texture from cooked chicken
- Sharp contrast from parmesan cheese
- Brightness from fresh vegetables
Understanding texture is key to a great wrap. It prevents disappointment when your wrap falls apart. Proper arrangement of ingredients ensures every part of your wrap shines.
Choosing Your Ingredients
Creating a tasty easy chicken caesar wrap starts with the right ingredients. Your choices affect the taste, texture, and health of your wrap. Let’s look at each part to make a healthy wrap that’s also delicious.
Selecting the Perfect Tortillas
The tortilla is key. Choose large burrito-sized ones to hold more filling without breaking. You can pick from many options to fit your taste and diet.
- Whole wheat wraps add fiber and a nutty taste for a healthy wrap
- Spinach wraps add color and extra nutrients
- White flour tortillas offer a classic feel and flexibility
- Tomato-basil wraps add herbal flavors to your wrap
Choose the flavor you like best. Most recipes work well with any wrap style you prefer or have.
Choosing Quality Lettuce and Greens
Romaine lettuce is the best choice. Look for crisp, bright green heads without spots. Romaine’s sturdy leaves hold dressing better than iceberg lettuce.
For a two-serving wrap, use about 4 cups of chopped romaine. For four servings, prepare 6 to 8 cups of chopped romaine hearts.
Chicken Options That Work
Your chicken choice affects convenience and taste. Each option is good for a healthy wrap:
| Chicken Type | Prep Time | Best For |
|---|---|---|
| Rotisserie Chicken | 5 minutes | Quick assembly, maximum convenience |
| Leftover Grilled Chicken | None | Using what you have, budget-friendly |
| Freshly Cooked Chicken Breast | 20-25 minutes | Full flavor control, best taste |
Use about 1.5 cups of cooked, chopped chicken for two servings. Make sure your chicken is seasoned well with salt and pepper. This ensures your wrap tastes great all the way through.
Parmesan Cheese Matters
Freshly grated or shaved parmesan cheese tastes better than pre-grated. For two servings, use about three-quarters cup of shaved parmesan. For four servings, use 1.25 cups of freshly grated parmesan. The fresher cheese melts slightly and spreads its rich flavor evenly across your wrap.
Optional Ingredients to Personalize
Make your wrap unique by adding what you love:
- Grape tomatoes for sweetness and juiciness
- Red onion for sharpness and crunch
- Avocado for creaminess and healthy fats
- Crispy bacon bits for smokiness
- Cherry peppers for heat
These additions can turn your wrap from basic to custom-made. Choose based on your taste and dietary needs.
Making Homemade Caesar Dressing from Scratch
Making your own caesar dressing is quick and tastes better than store-bought. You get to choose what goes into it. A good caesar dressing is key to a great chicken caesar wrap. You don’t need special tools or hard-to-find ingredients to make it at home.
You can make a creamy caesar dressing or a lighter Greek yogurt version. Both are delicious and add a lot of flavor to your wrap.
Two-Minute Caesar Dressing Recipe
This quick caesar dressing recipe is easy to make. You’ll need a mason jar and a hand blender. Here’s what you need:
- 2/3 cup mayonnaise
- 2 tablespoons Dijon mustard
- 1 tablespoon balsamic vinegar
- 1 teaspoon garlic powder
- 5 to 6 dashes Worcestershire sauce
- 1/4 teaspoon kosher salt
- 1/2 teaspoon black pepper
Put all the ingredients in your mason jar. Blend them until smooth and creamy. If it’s too thick, add water a little at a time. This dressing lasts up to a week in the fridge.
Greek Yogurt Caesar Dressing Alternative
Want a lighter option? Try this lemony Caesar vinaigrette with Greek yogurt. Mix these ingredients:
- 2 cloves garlic
- Juice of 1 large lemon
- 3 tablespoons plain Greek yogurt
- 3 tablespoons finely grated Parmesan cheese
- 1 tablespoon mayonnaise
- 2 teaspoons Worcestershire sauce
- 1 teaspoon Dijon mustard
- 1 teaspoon prepared horseradish
- 1/3 cup extra virgin olive oil
- 1 teaspoon kosher salt
- Freshly cracked black pepper to taste
Blend all the ingredients until smooth. This dressing is thinner than traditional caesar. The Greek yogurt adds protein and tanginess, while the horseradish adds depth. Adjust the flavors to your liking. Store it in the fridge for up to a week.
Both homemade caesar dressing recipes are perfect for your chicken caesar wrap. Choose the one that suits your taste and dietary needs.
Preparing the Chicken for Your Wrap
The chicken is the star of your wrap, so getting it right matters. Perfect chicken makes all the difference between a good lunch wrap recipe and an amazing one. You have several great options for preparing chicken that fit your schedule and cooking style.
Quick Stovetop Method
The fastest way to make chicken wrap ideas come to life is the stovetop approach. Cut 2 large boneless, skinless chicken breasts into bite-sized pieces. Heat olive oil in a medium skillet over medium-high heat. Add your chicken pieces along with 2 teaspoons of seasoned salt like Lawry’s and 1 teaspoon of black pepper. Cook while stirring occasionally for 5 to 7 minutes until the chicken turns golden brown and cooks through.
This method works great for weeknight lunch wrap recipes because the small pieces cook evenly and quickly. Your chicken will be tender, flavorful, and ready to go into your wrap in minutes.
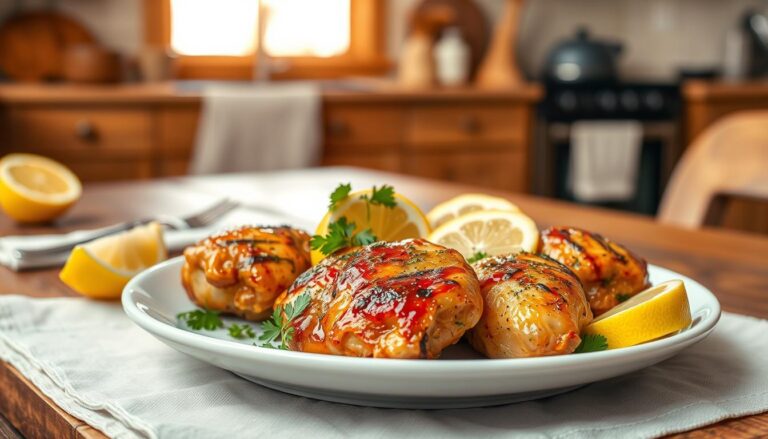
Sear-and-Finish Method
For juicier chicken, try the sear-and-bake approach. Season whole chicken breasts thoroughly with salt, pepper, onion powder, and garlic powder. Sear them in a hot skillet until golden brown on both sides. Move them to a preheated 375°F oven and bake until they reach an internal temperature of 165°F, about 12 to 15 minutes.
Let the chicken rest for 5 minutes before cutting. This keeps the meat juicy inside while creating a flavorful crust. Cut into pieces for your chicken wrap ideas.
https://www.youtube.com/watch?v=SZCo3lPHuyk
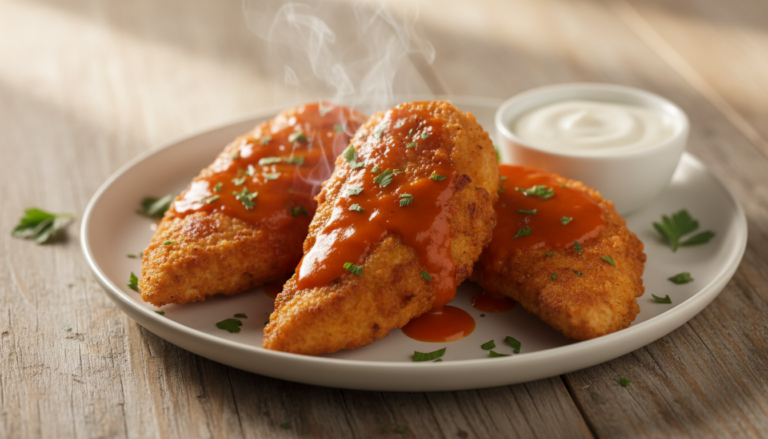
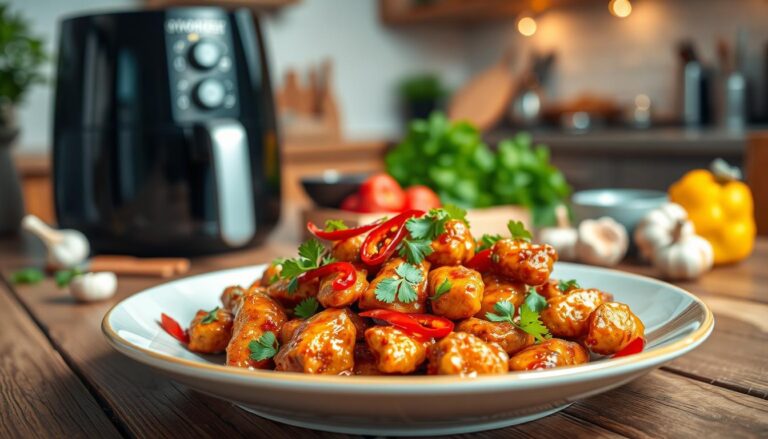
Crispy Chicken Tenders Option
Want extra crunch in your lunch wrap recipes? Breaded chicken tenders add wonderful texture. You can air fry, bake in the oven, or deep fry them depending on your preference. Season them with garlic powder, kosher salt, and pepper or use poultry seasoning for simplicity.
Rotisserie Chicken Convenience
Short on time? Buy a rotisserie chicken from your grocery store. Simply shred or chop the meat and use it right away. If it needs more flavor, sprinkle it with additional seasonings like garlic powder and salt.
| Method | Time Required | Best For | Seasoning Options |
|---|---|---|---|
| Stovetop Pieces | 5-7 minutes | Quick weeknight meals | Seasoned salt, black pepper |
| Sear-and-Bake | 20-25 minutes | Maximum juiciness | Salt, pepper, onion powder, garlic powder |
| Breaded Tenders | 15-20 minutes | Added crunch and texture | Garlic powder, kosher salt, poultry seasoning |
| Rotisserie Chicken | 0 minutes prep | Maximum convenience | Ready to use or add extra seasonings |
Make-Ahead Tip
Prepare your chicken up to two days in advance. Store it in an airtight container in your refrigerator. This makes creating lunch wrap recipes throughout the week super simple. Just grab your prepared chicken and assemble your wrap whenever you’re ready.
Creating Crunchy Homemade Croutons
Croutons add a perfect crunch to your chicken Caesar wrap. Making them at home keeps them crispy and fresh. They’re a game-changer for make ahead wraps, offering texture and flavor that store-bought can’t match. Learning to make restaurant-quality croutons will take your tortilla wrap recipes to the next level.
The secret to great croutons is knowing your ingredients and baking technique. Fresh, warm croutons taste amazing. They also store well for several days, making them perfect for meal prep.
Selecting the Best Bread for Croutons
The bread you choose affects your crouton’s flavor and texture. Sourdough has a tangy taste and sturdy structure. Ciabatta has an airy inside with crispy edges. French baguettes make classic croutons that are perfect for any tortilla wrap.
Using slightly stale bread is better than fresh. Older bread absorbs seasonings well without getting soggy. It crisps up better in the oven. You can use leftover baguette, day-old sandwich bread, or any crusty bread.
Cut your bread into half-inch cubes. These sizes provide great crunch without being too bulky in your wrap.
Baking Techniques for Maximum Crunch
Your oven temperature and timing are key. Preheat your oven to 375°F. Line a baking sheet with parchment paper to prevent sticking.
| Ingredient | Amount |
|---|---|
| Cubed bread | 2 cups |
| Extra virgin olive oil | 2 teaspoons |
| Italian seasoning | 1/2 teaspoon |
| Kosher salt | 1/4 teaspoon |
| Black pepper | To taste |
Place your bread cubes on the prepared sheet. Drizzle with olive oil and sprinkle Italian seasoning, garlic powder, salt, and pepper. Massage the seasonings into the bread using your hands. This ensures even coating and maximum flavor distribution.
Bake for 8-10 minutes until golden brown and toasty. The croutons will crisp up more as they cool. Avoid overbaking. Store cooled croutons in an airtight container for up to three days, making them perfect for make ahead wraps.
- Make extra croutons for snacking
- Don’t overbake or they become too hard
- Store in airtight containers to maintain freshness
- Use within three days for best texture
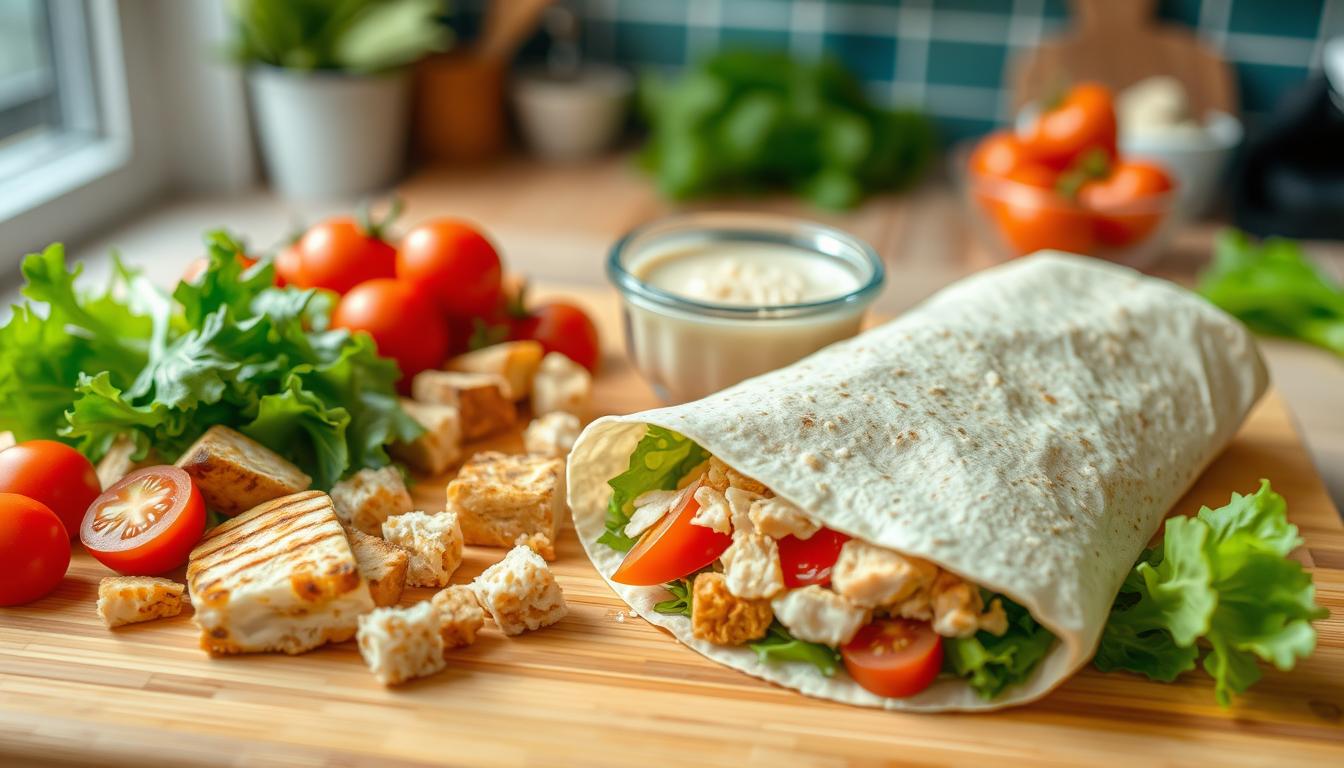
Assembling Your Perfect Chicken Caesar Wrap
Creating an easy chicken caesar wrap is all about how you put it together. Begin by placing your warmed tortilla on a clean, flat surface. This makes the wrapping process easier and more manageable.
Place your fillings in the lower third of the tortilla, not the center. This helps you roll it more smoothly and keeps everything in place. Here’s how to layer your homemade chicken caesar wrap:
- Start with one to one-and-a-half cups of chopped romaine lettuce as your base layer
- Add your prepared chicken—either bite-sized pieces, strips, or one to two chicken tenders
- Sprinkle two tablespoons of shaved or grated parmesan cheese over the chicken
- Drizzle two to three tablespoons of caesar dressing across the layers

Next, fold your wrap like a burrito. Fold the left and right sides toward the center, covering your filling. Then, fold the bottom edge up and over the filling, tucking it tightly. Roll away from you, keeping the sides tucked in until it’s a tight cylinder.
Use a sharp serrated knife to slice your wrap in half on a diagonal. This makes it easier to eat and looks great with the colorful layers inside.
A properly assembled wrap stays together throughout your meal, making it much more enjoyable to eat.
Learning how to assemble your easy chicken caesar wrap ensures a professional result every time you make it at home.
Tips for Wrapping Without Tearing
Mastering the wrapping technique is key to a perfect chicken caesar wrap. Common mistakes include using cold tortillas, overfilling, or rolling too loosely. Cold tortillas are stiff and crack easily. Too much filling makes the tortilla split as you roll.
A loose wrap falls apart, ruining your meal. The rule is simple: less is more. You can always make another wrap, but fixing a torn one is impossible.
Your tortilla’s age is also important. Fresh tortillas are best for wraps. Older tortillas dry out and become brittle. Use fresh ones to avoid frustration.
Preparing your tortillas correctly is the secret to successful wrapping. Warm tortillas become soft and pliable. Assemble your wrap right after warming for the best results.
Warming Your Tortillas Properly
There are several ways to warm tortillas. Each method works well depending on your needs and equipment.
| Heating Method | Time Required | Best For | Instructions |
|---|---|---|---|
| Microwave | 15-30 seconds | Single wraps | Wrap tortillas in a slightly damp kitchen towel and heat until warm and steamy |
| Stovetop Skillet | 30 seconds per side | Quick preparation | Heat in a dry skillet over medium heat until warm and slightly puffed |
| Oven | 10 minutes | Multiple wraps | Wrap tortillas in aluminum foil and warm at 350°F |
The microwave method is quick for a single wrap. A damp towel keeps tortillas moist while heating. For stovetop warming, place tortillas in a skillet over medium heat. They will puff slightly as they warm.
The oven method is great for groups or meal prep. Your tortillas are ready when they feel warm and bend easily. Roll your wrap immediately after warming.
- Properly warmed tortillas should feel soft and bend easily
- Assemble your wrap immediately after warming
- Never skip the warming step with cold tortillas
- Test flexibility by gently bending the tortilla
Your tortillas are ready when they feel warm to the touch and bend without cracking. Start rolling your wrap right away while this warmth lasts.
Making Chicken Caesar Wraps Ahead of Time
Preparing make ahead wraps saves you time during busy weekdays. You can use two smart strategies to get your lunch wrap recipes ready in advance. Each approach offers different benefits depending on your schedule and preferences.
The first method involves assembling your wraps completely and storing them in the refrigerator. You can keep fully assembled wraps fresh for up to one day before serving. After that, your tortilla will get soggy, and the lettuce will wilt. To store assembled wraps properly, wrap each one tightly in plastic wrap, parchment paper, or aluminum foil. This prevents air from reaching your ingredients and keeps everything compressed.

The component prep method gives you more flexibility. You can prepare and store individual elements separately for up to two days. This approach works better for lunch wrap recipes because nothing gets soggy.
Smart Storage Strategy for Components
- Cook your chicken and store it in an airtight container
- Prepare your Caesar dressing and keep it in a jar or squeeze bottle
- Wash and chop your romaine lettuce, then store it with paper towels to absorb moisture
- Keep your croutons in an airtight container at room temperature
- Grate your parmesan cheese separately
Keep the dressing separate until assembly time. You can toss it with your ingredients right before eating, or serve it on the side as a dipping sauce. This simple change prevents your wrap from becoming soggy.
For the best results with lunch wrap recipes, assemble your wraps the morning of rather than the night before. Store any extra dressing in a small container and keep an ice pack in your lunch bag to maintain freshness throughout the day.
Serving Suggestions and Pairings
Your homemade chicken caesar wrap is best with the right sides and drinks. It’s perfect for any time, whether it’s a quiet dinner or a big gathering. The right sides and drinks can make your meal better and more fun.
Make your chicken wrap a full meal with sides. Try crispy french fries or sweet potato fries for a nice crunch. Kettle-cooked potato chips or pita chips add another great texture. A simple side salad with vinaigrette adds more veggies.
Keep extra caesar dressing for dipping. This keeps your wrap moist and adds flavor to every bite.
Beverage Pairings That Work
Choose drinks that make your wrap better. For lunch, iced tea or fresh lemonade is great. At dinner, a crisp white wine like Sauvignon Blanc or Pinot Grigio is perfect. Sparkling water with lemon is a refreshing choice for any time.
Perfect for Any Gathering
Chicken wraps are great for parties or events. Cut wraps into pinwheels for appetizers. Arrange halved wraps on platters for buffets. Pack wraps for picnics, tailgating, or church potlucks.
Complete your wrap spread with dishes that match:
- Pasta salad with Italian dressing
- Crisp coleslaw for crunch
- Fresh fruit salad with seasonal produce
- Vegetable crudités with ranch dip
Decorate your platter with lemon wedges, extra parmesan, and parsley. These touches make your wraps look and feel like they’re from a restaurant.
Conclusion
You now know how to make a perfect chicken caesar wrap at home. This guide teaches you the key techniques to get restaurant-quality flavor. Making your own wrap saves money and time.
This homemade chicken caesar wrap is great for any occasion. It’s quick for a weeknight dinner or perfect for work lunches. It’s also great for picnics or family gatherings because it’s easy to take along.
Customizing your chicken caesar wrap is fun. You can choose between traditional Caesar dressing or a Greek yogurt version. Pick your favorite chicken and add extra veggies or croutons for crunch. You can even try different tortilla flavors to make it your own.
As you make this wrap more often, it gets easier. You’ll learn to warm tortillas right and roll them without any trouble. Your family will love the flavors and textures. Start making this recipe a regular part of your cooking routine. It will open up endless possibilities for quick, healthy meals.