Pork Tenderloin A Beginner’s Ultimate Recipe Step by Step
Cooking pork tenderloin is easy and quick. It’s a great choice for beginners. You can have a delicious meal ready in under 30 minutes.
The method is simple: rub, sear, and bake. You don’t need to be a pro or have fancy tools. This way, you know exactly when your meat is cooked just right.
Pork tenderloin cooks fast and stays tender. It’s faster than chicken and more flavorful than usual weeknight meals. You can season it with BBQ rubs, herbs, or just salt and pepper.
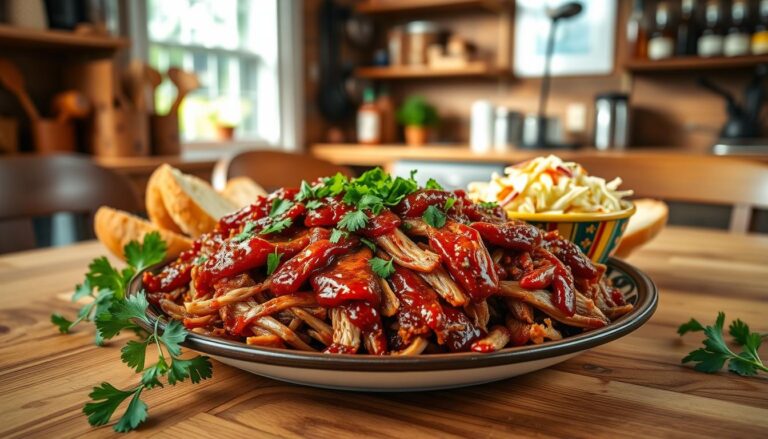
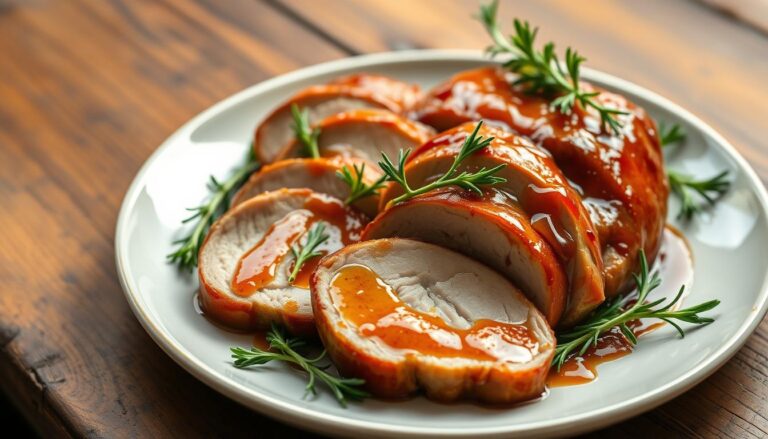
This recipe is perfect for both family dinners and fancy parties. The golden crust looks amazing. The inside is moist and tender. Your guests will be impressed, even if you only spent a few minutes cooking.
Learning to cook pork tenderloin is a great start. It teaches you the basics of cooking meat. You’ll be ready to try new recipes and cook proteins with confidence.
Key Takeaways
- Pork tenderloin cooks in 15 to 30 minutes, making it perfect for busy weeknights
- This lean cut stays tender without complicated cooking methods or long cooking times
- A simple rub, sear, and bake method delivers restaurant-quality results at home
- Your step by step pork cooking process removes guesswork with clear temperatures and timing
- This easy pork tenderloin works for both casual meals and special occasion dinners
- Safe internal temperature is easy to check with a meat thermometer
- Beginners can create an impressive golden crust and moist interior every time
Why Pork Tenderloin is Perfect for Beginners
Pork tenderloin is a top choice for beginners. It offers restaurant-quality taste without needing advanced cooking skills. It’s perfect for weeknight meals or when you have guests over. Its simplicity and flavor make it a standout choice.
Let’s explore what makes this cut so special for home cooks just starting their culinary journey.
Fast Cooking Time Makes It Weeknight-Friendly
Pork tenderloin is quick to cook, solving the dinner dilemma. It cooks in just 15 to 30 minutes. After a quick sear, it bakes for 8 to 10 minutes. This speed is ideal for busy evenings when you need to feed your family fast.
- Searing time: 4-6 minutes total
- Baking time: 8-10 minutes
- Resting time: 5 minutes
- Total active cooking: Under 15 minutes
Lean and Tender Without Complicated Techniques
Pork tenderloin is naturally lean and tender. It doesn’t need special cooking methods. Unlike tougher cuts, it’s tender from the start. Cooking it is simple: just make sure it’s cooked through without drying out. This makes it perfect for beginners looking to build their cooking confidence.
| Pork Cut | Cooking Method | Time Required | Skill Level |
|---|---|---|---|
| Pork Tenderloin | Sear and bake | 15-30 minutes | Beginner |
| Pork Shoulder | Slow roast | 4-6 hours | Intermediate |
| Pork Ribs | Low and slow smoking | 5-6 hours | Advanced |
| Pork Chops | Pan-fry | 10-15 minutes | Beginner |
Versatile Enough for Any Flavor Profile
The mild flavor of pork tenderloin is perfect for adding your own twist. It can be seasoned in countless ways. Try BBQ rubs, Italian herbs, Asian marinades, or sweet glazes for a unique taste.
This versatility keeps your meals exciting. You can even use pork in place of beef in your favorite pasta dishes. The endless possibilities mean you’ll never get tired of cooking with pork tenderloin.
- BBQ rubs with paprika and brown sugar
- Italian seasonings with rosemary and thyme
- Asian marinades with soy and ginger
- Dijon mustard-based glazes
- Mediterranean herb combinations
Essential Ingredients for Your First Pork Tenderloin
Creating a delicious pork tenderloin starts with the right ingredients. Choose a 1 to 1.5-pound cut from your local butcher or grocery store. Make sure it’s not marinated and has visible silver skin. This silver skin is what you’ll remove before cooking, allowing you to control the flavors.
Choosing the right seasonings is key. You have three great options for seasoning your pork:
- Smoky BBQ-style blend with paprika, brown sugar, kosher salt, cumin, dry mustard, black pepper, and chipotle powder
- Simple Italian option combining kosher salt, black pepper, and Italian seasoning
- Sweet-savory mix featuring brown sugar, fresh garlic, Italian seasoning, Herbs de Provence, and sea salt
For cooking, use a high-heat oil. Canola oil and extra virgin olive oil are best for searing. They handle high temperatures better than butter.
If you want to make a pan sauce, here are some optional ingredients:
- Baby bella mushrooms
- Yellow onions
- Fresh garlic cloves
- Low-sodium beef broth
- Worcestershire sauce
- Dijon mustard
- Cornstarch for thickening
Some seasonings for pork are also used in ground beef pasta cream sauce. This means you might already have what you need in your kitchen. Remember, garlic powder can replace fresh garlic, and regular brown sugar works if you don’t have dark brown sugar.
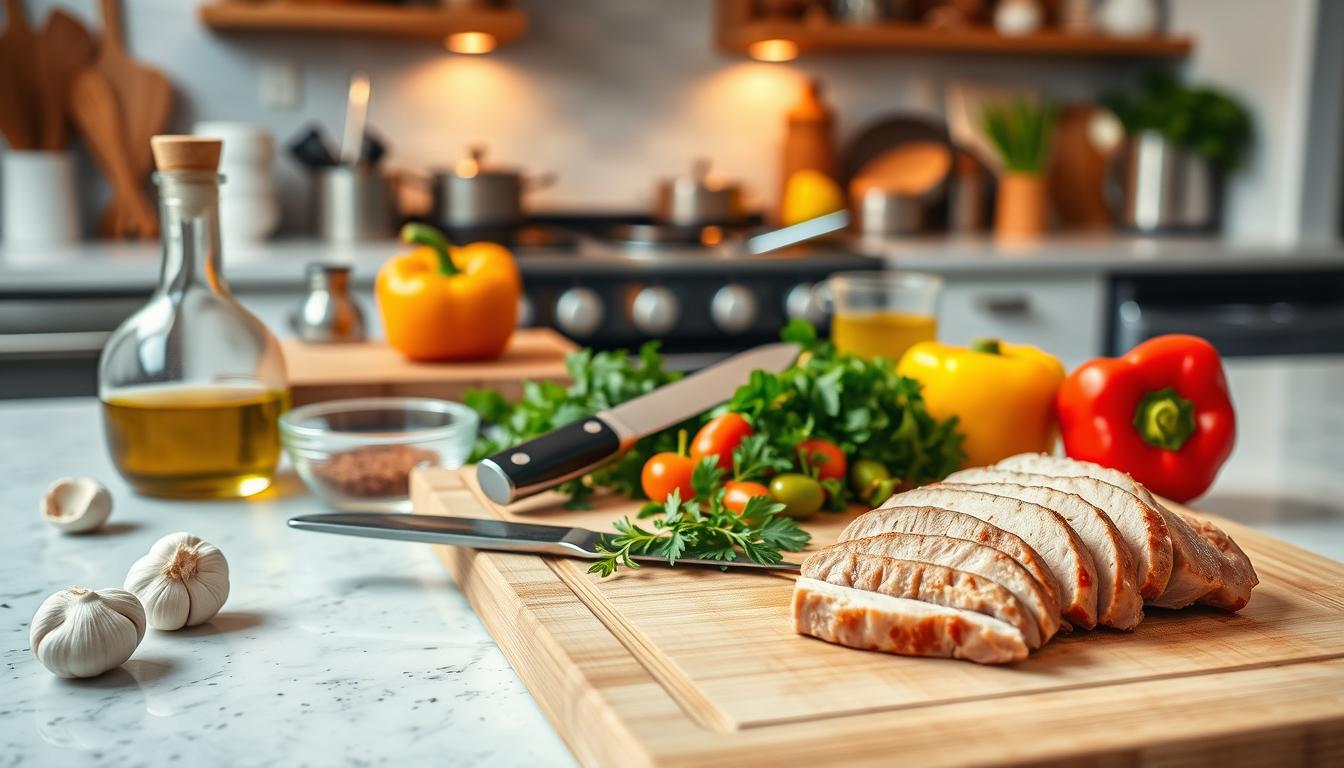
Preparing Your Pork Tenderloin Before Cooking
Getting your pork tenderloin ready is key to a great dish. Proper meat preparation can turn a simple meal into a gourmet experience. You’ll need to master two important steps to make your tenderloin truly exceptional. These steps are quick but make a big difference, making your dish as tender and flavorful as creamy pasta with beef.
How to Remove Silver Skin Properly
Silver skin is a tough, shiny layer on your tenderloin. It doesn’t break down when cooked, leading to chewy spots in your dish. Removing silver skin is essential for a tender bite every time.
Here’s how to trim your pork tenderloin:
- Make a small cut at one end of the silver skin with your sharp knife
- Use your fingers to grip and pull up the membrane flap
- Slide your blade underneath at a slight upward angle
- Work slowly from one end to the other
- Repeat passes if needed—even experienced cooks need multiple attempts
- Trim any extra fat that looks thick or uneven
After trimming, pat your tenderloin dry with paper towels. This helps with browning and keeps seasonings from falling off.
Making Incisions for Maximum Flavor Penetration
Shallow cuts in your tenderloin let seasonings get deep into the meat. This makes every bite tender, flavorful, and moist.
Make 5 to 6 shallow incisions across the top:
- Space cuts evenly along the entire length
- Cut about ¼-inch deep into the meat
- Angle your knife slightly for clean cuts
- Avoid cutting so deep that you damage the meat’s structure
- These cuts serve as flavor pockets for your rub or herbs
These steps complete your meat preparation. Your tenderloin is now ready for seasoning and cooking, with maximum flavor potential.
Pork Tenderloin A Beginner’s Ultimate Recipe
Now, let’s make your pork tenderloin into a dish that looks like it came from a restaurant. We’ll cover two key steps: making your spice rub and searing the meat. These steps add flavor and texture that will wow your guests.
Creating the Perfect Spice Rub
A good spice rub is the base of amazing flavor. It creates a tasty crust and keeps the meat moist. You can choose from three rubs, each with its own unique taste.
First, pick your favorite spice rub. Each mix brings different flavors to your tenderloin:
| Spice Blend | Ingredients | Flavor Profile | Best Pairing |
|---|---|---|---|
| Smoky BBQ Rub | 1 tbsp paprika, 1 tbsp brown sugar, 1.5 tsp kosher salt, 1 tsp cumin, 1 tsp dry mustard, ½ tsp black pepper, ½ tsp chipotle powder | Smoky with mild heat and depth | Grilled vegetables, cornbread |
| Italian Seasoning Blend | 1 tsp salt, ½ tsp pepper, 1.5 tsp Italian seasoning | Light and herbaceous | Pasta dishes, roasted vegetables |
| Sweet-Savory Garlic Blend | 1.5 tbsp olive oil, 4 chopped garlic cloves, 2 tbsp brown sugar, 2 tsp Herbs de Provence, 2 tsp Italian seasoning, ½ tsp sea salt | Sweet with aromatic herb notes | Mushroom sauce, roasted potatoes |
After choosing your rub, mix the dry ingredients in a bowl. Rub the tenderloin with the spice mix on all sides. Press gently to make sure the spices stick. If you made cuts earlier, fill them with more seasoning for extra flavor. The brown sugar in your rub will help create a beautiful crust.
Searing for a Golden Crust
Searing is key to making your pork look and taste like it’s from a restaurant. It adds complex flavors, keeps juices in, and gives a nice contrast between the crispy outside and soft inside.
Here’s how to sear meat right:
- Heat a cast-iron skillet or heavy oven-safe pan over medium-high heat for 2-3 minutes until very hot
- Add 1 tablespoon of oil and let it warm until it shimmers (about 1-2 minutes)
- Carefully lower your seasoned tenderloin into the hot pan, away from your body to avoid oil splatter
- Leave it undisturbed for 2-3 minutes until a golden-brown crust forms
- Rotate and sear each side until all surfaces have a nice brown crust
The searing technique makes your pork look and taste amazing. You might see smoke, so turn on your exhaust fan or open windows. Don’t move the meat in the pan. Let it sit so the crust forms well.
Learning to sear meat boosts your cooking skills. This technique works for beef, chicken, and other proteins too. You’re gaining skills that improve your cooking in many ways.
Baking Your Pork Tenderloin to Perfection
After searing your pork tenderloin on all sides, it’s time for the oven. This is where baking pork tenderloin really shines. The best part? You don’t need to wash extra dishes. Just put your cast iron skillet in the oven. Be careful since the handle will be very hot.
Choosing the right oven temperature for pork is key. You have two reliable ways to cook pork perfectly.
| Oven Temperature for Pork | Roasting Time | Best For | Internal Temperature Target |
|---|---|---|---|
| 400°F | 8-10 minutes | After a thorough sear; faster results | 135°F when removed |
| 350°F | Approximately 30 minutes | Beginners who want more time; gentler approach | 135°F when removed |
The secret to baking pork tenderloin is understanding carryover cooking. When you take your meat out of the oven at 135°F, it will keep getting hotter. It will reach 145°F, which is safe, without extra effort.
Here’s what you need to know about achieving perfect pork cooking:
- Place your oven rack in the center for even heat distribution
- Use an instant-read thermometer inserted into the thickest part of the meat
- Don’t rely on time alone; thickness varies between cuts
- A cast iron skillet ensures even heat and prevents hot spots
- For a fully white interior with no pink, cook to 155-160°F before removal
Many home cooks worry about pink meat, but at 145°F, your pork is safe and juicy. If you prefer meat without any pink, cook to 155-160°F. Just know the roasting time will extend slightly, and the texture becomes less tender.
Whether you’re making a weeknight dinner or preparing baking pork tenderloin for guests, this oven-finishing method delivers restaurant-quality results. The combination of proper oven temperature for pork and accurate temperature monitoring removes the guesswork.
How to Tell When Your Pork Tenderloin is Done
Knowing when pork is done is key to a great meal. The right tools and understanding of internal temperatures are crucial. Pork tenderloin cooks fast and can dry out quickly. So, checking the temperature is vital for both taste and safety.
Using a meat thermometer and knowing the right temperatures is the best way. This way, you can enjoy tasty pork while keeping your family safe.

Using a Meat Thermometer Correctly
An instant-read digital meat thermometer is your kitchen’s best friend. It makes checking doneness easy and fast.
Put your thermometer into the thickest part of the tenderloin. Insert it horizontally from the side, not straight down. This way, you get the center temperature, not just the surface. Make sure the probe doesn’t hit the pan below, as this can give a false reading.
Start checking the pork’s internal temperature a few minutes before it’s done. This prevents it from getting too hot. Lean meat can quickly become dry if it’s overcooked.
- Use digital instant-read thermometers for accuracy
- Insert the probe into the thickest portion of the meat
- Angle the thermometer horizontally from the side
- Start checking several minutes early
- Never let the probe touch the cooking pan
Understanding Safe Internal Temperatures
Food safety guidelines for pork have changed a lot. The USDA now says pork should be at least 145°F to be safe. This is lower than the old 160°F many remember.
At 145°F, your pork tenderloin might still look a bit pink in the middle. This is okay and means it’s cooked right. The pink color comes from myoglobin, not undercooking, and shows the meat is juicy and safe.
| Target Temperature | What to Expect | Best For |
|---|---|---|
| 135°F (remove from heat) | Will rise to 145°F during rest; slight pink center | Maximum juiciness and food safety |
| 145°F (USDA safe minimum) | Light pink center; perfectly safe | Balanced tenderness and food safety |
| 155-160°F | White throughout; no pink | Those who prefer fully cooked appearance |
Carryover cooking is important. When you take the pork off heat at 135°F, it will rise another 5-10 degrees as it rests. This heat ensures the meat reaches the perfect 145°F.
Don’t skip the resting time after cooking. Let your pork tenderloin rest for at least 5-10 minutes before slicing. This lets the juices spread out, making every bite moist and flavorful.
Knowing about pork internal temperature helps you cook like a pro at home. With the right thermometer and knowledge, you’ll always have tender, safe pork. Whether for comfort food pasta or a main dish, these tips will make your pork delicious and loved by all.
Creating a Flavorful Pan Sauce with Mushrooms and Onions
After searing your pork tenderloin, you have a golden opportunity to build something special. The pan still holds all those delicious browned bits from the meat. These caramelized drippings are pure flavor waiting to become an amazing pan sauce recipe that transforms your dinner into something restaurant-quality.
Your deglazing technique starts right in that same skillet. Keep the heat medium and add one tablespoon of butter. Once it melts, introduce eight ounces of sliced baby bella mushrooms and half a sliced onion. Let them cook for about five minutes until they soften and develop color. The vegetables will absorb all those savory meat flavors from the pan bottom.
Next comes the aromatic layer. Add two minced garlic cloves and cook for just thirty seconds. This timing prevents burning while releasing garlic’s wonderful smell.
Now pour in one cup of low-sodium beef broth, one tablespoon of Worcestershire sauce, and one teaspoon of Dijon mustard. Use a wooden spoon to scrape those browned bits stuck to the pan. This scraping action is your deglazing technique in action, and it pulls all that concentrated goodness into your sauce.
For a thicker pork gravy consistency, mix one teaspoon of cornstarch with one tablespoon of cold water. Stir this mixture into your simmering sauce to thicken it within a minute. Your mushroom sauce will continue thickening as the pork rests.
This versatile pan sauce recipe works beautifully for family dinner pasta ideas too. Spoon the mushroom and onion mixture over sliced pork, with extra sauce on the side for those who want more.
Common Mistakes to Avoid When Cooking Pork Tenderloin
Many home cooks face challenges in the final cooking stages. Knowing the common mistakes helps you achieve restaurant-quality results. Give your pork tenderloin the care it needs to avoid a dry, disappointing meal.

Overcooking and How to Prevent Dryness
Overcooking is the main reason for dry pork tenderloin. This cut has little fat, making it prone to dryness. The difference between good and bad pork is just a few degrees.
Pork tenderloin loses moisture quickly if it’s overcooked. Just a few extra minutes can turn tender meat into a disaster. Use a meat thermometer to avoid this.
Take your pork out of the oven at 135-140°F internal temperature. It will reach 145°F safely without overcooking. Always check with a thermometer, as oven temperatures and meat thickness vary.
- Use a meat thermometer inserted into the thickest part of the meat
- Start checking temperature 5 minutes before the minimum suggested time
- Avoid cooking at excessively high temperatures throughout the process
- Allow for carryover cooking after removing from heat
Skipping the Resting Period
The resting period is crucial. Skipping it can ruin even the best pork. When pork comes out of the oven, juices concentrate in the center. Cutting immediately releases these juices, losing flavor.
Resting for 5-10 minutes allows juices to spread evenly. This makes the meat juicy and flavorful. Use foil to keep it warm while it rests.
| Mistake | Result | Prevention |
|---|---|---|
| Overcooking past 150°F | Dry, tough texture throughout | Pull at 135-140°F, use thermometer |
| Skipping rest period | Juices escape during slicing | Rest 5-10 minutes under foil |
| Not removing silver skin | Chewy, unpleasant texture | Trim completely before cooking |
| Wet surface before searing | Steam prevents proper browning | Pat meat dry with paper towels |
| Low searing temperature | Pale, unappetizing crust | Heat pan until oil shimmers |
A properly rested pork tenderloin retains its juices and delivers superior texture compared to meat sliced immediately from the oven.
Other mistakes include leaving silver skin on and not drying the meat before seasoning. Also, not heating your pan enough before searing. These details are key to a great meal at home. Serve your pork with savory beef noodles or your favorite sides for a complete dinner.
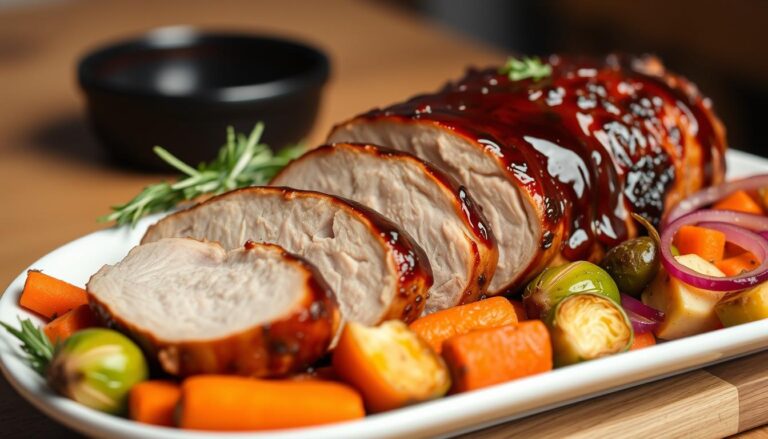
Serving Suggestions and Side Dish Pairings
Your pork tenderloin needs the right sides to make your meal special. Choosing the right sides can turn a good meal into a memorable one. Pork tenderloin is mild and tender, making it easy to pair with many flavors and textures.
Pork side dishes come in many categories that go well together. Your sides should balance the flavors and textures on your plate. Think about your sauce and plan your sides around it. For example, if you have a mushroom and onion pan sauce, choose starches that soak up that sauce.
Vegetable Options
Roasted and sautéed vegetables are sweet and have caramelized edges. They complement your seasoned pork without taking over.
- Sautéed green beans with garlic and butter
- Air fryer Brussels sprouts with crispy edges
- Roasted asparagus finished with fresh lemon
- Air fryer sweet potatoes for added sweetness
- Roasted broccoli with olive oil and sea salt
Starch and Pasta Selections
Starches are key for a filling meal. Creamy options pair well with pan sauces.
- Creamy garlic mashed potatoes
- Scalloped potatoes layered with cheese
- Garlic butter spaghetti or pappardelle
- Warm quinoa and Brussels sprouts salad
- Creamy risotto with herbs
A homemade creamy pasta sauce can make your meal feel like a restaurant experience. Mix hot pasta with butter, cream, garlic, and herbs for a classic side.
Pairing Guidelines
| Pork Preparation | Best Dinner Pairings | Why It Works |
|---|---|---|
| Brown sugar rub | Savory green beans, tangy salad | Savory sides balance sweetness |
| Italian herb seasoning | Roasted tomatoes, white beans, garlic pasta | Mediterranean flavors complement herbs |
| Mushroom-onion sauce | Mashed potatoes, rice, creamy pasta | Starches absorb rich sauce |
| Garlic and rosemary | Roasted root vegetables, creamy grains | Earthy sides enhance aromatics |
Timing Your Sides
Timing is key to ensure everything is hot and ready. Start longer-cooking items like potatoes and Brussels sprouts before searing your pork. Quick sides like sautéed spinach or garlic green beans are best while your meat rests.
Light salads with vinaigrette add texture and cut through the meat’s richness. A crisp arugula salad or warm farro grain salad adds substance without being too heavy. Your pork side dishes turn an ordinary dinner into a balanced, satisfying meal that impresses everyone.
Conclusion
You now have all the tools needed for beginner cooking success with pork tenderloin. This easy dinner recipe takes just 15 to 30 minutes to make. The steps are simple: trim the silver skin, apply your spice rub, sear the meat, bake it, and let it rest.
Mastering pork tenderloin requires two key steps. First, use a meat thermometer to check the internal temperature. Remove the pork at exactly 135 to 145 degrees Fahrenheit. Second, always rest your meat for at least 5 to 10 minutes before slicing. This keeps all the juices inside, making each bite tender and moist.
Your pork tenderloin summary includes the essential steps you’ve learned. You selected quality meat, removed the silver skin, and created a flavorful seasoning blend. You mastered the searing technique for a golden crust, finished cooking in the oven, and rested the meat before serving. Once you feel confident with this basic method, you can experiment with different spice rubs, marinades, and pan sauces to create endless variations of the same dish.
This recipe works perfectly for a busy Tuesday night dinner or for impressing guests at your table. It is forgiving when you need it to be and impressive when you want it to be. Trust the process, try this easy dinner recipe, and enjoy the satisfaction of serving restaurant-quality pork tenderloin that you prepared yourself. Your journey toward becoming a more confident cook starts right here with mastering pork tenderloin.